Showing posts with label render. Show all posts

Sunday, October 30, 2011

Buster (Just about done)

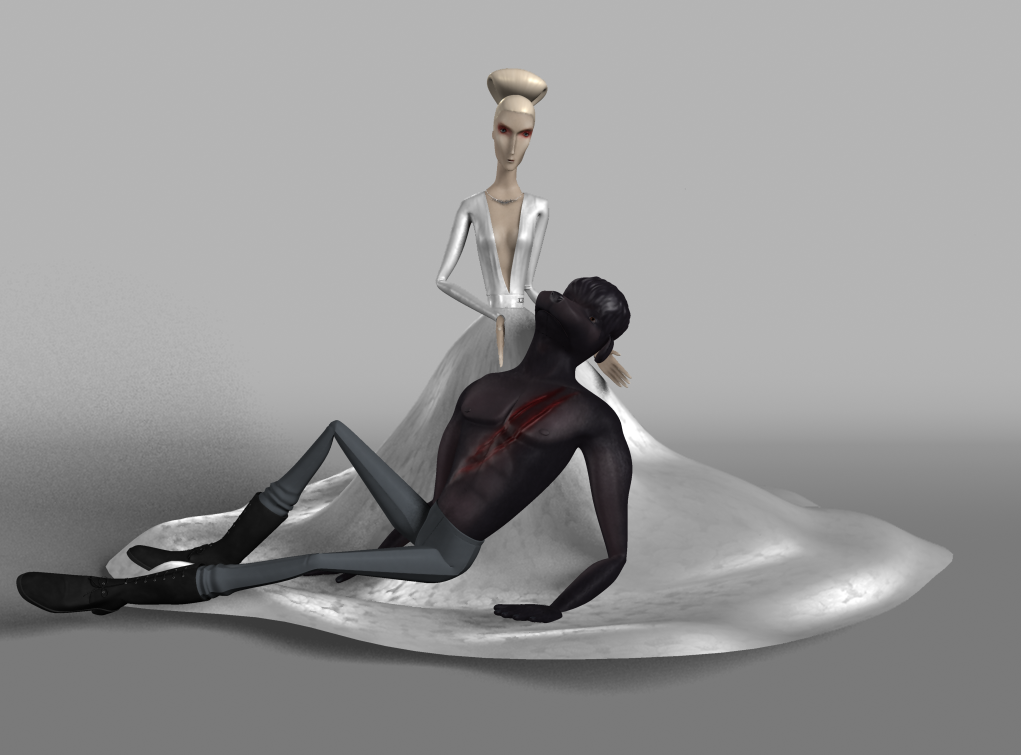
Here are some beauty shots of Buster. There are a few little things with the normal map that I want to clean up and some small details in his face and body, but this is pretty close to the finished vision. My goal was to combine the diffuse, spec, and bump maps in a way that somewhat "realistically" simulates many different kinds of materials.

Tuesday, October 25, 2011

More textures for Buster.

Been working on his suit and jetpack. Having a lot of fun with bump & spec maps (plus dialing in the blinn settings).

Sunday, June 12, 2011

Rooftop: In Progress

Here is a third composition. I'm still working on the final render, but here are test renders that show my process from posing the characters to setting up the lights. Lots of little tweaks along the way.

I used this as an opportunity to try out volumetric fog. A cool effect, I don't think I got it to work quite right, but I think this solution fits with the stylized reality of this world.

Yes, it's based on a still from La Femme Nikita that is in my moodboard.

Tuesday, May 24, 2011

Finaler

Updated! Made some big changes to the Madonna scene (new buildings & lighting) Thinking about enhancing the textures some and/or try a new method with all of the hair. (Also want to take some close-ups).

Friday, May 6, 2011

(close to) Final Scenes

Here are the two complete images that I am turning in for this class. I put the sets and lights together as fast as I could to get this project to a complete stage for today, but I definitely want to continue working on this. The Madonna scene, especially. The room doesn't have the "holy" quality that I was going for and the buildings in the background are pretty rough.

There are also a few things I had planned on incorporating into the Smoking Room image (such as reliefs on the wood objects) and a couple textures that could be refined (like the glass/crystal) that I didn't get to.

To take a look at the original sketches click here.

Sunday, May 1, 2011

Test Render


Here's a little taste of one of the scenes I'm creating. The poses are still rough and the background isn't in place, but it gives a sense of what this is going to look like.

Sunday, April 17, 2011

Mother (semi render)

I spent the weekend creating the costume & textures for "Mother." Also posed her up and began lighting, but realized that I don't know anything about lighting, and need to watch some tutorials. This is an approximation of what I want, just better!

Here dress is inspired by Prada's Fall 2010 collection. Her hair was going to be a big curly mass but then I saw this amazing picture of Catherine Denevue and immediately wanted her to look like that.

Friday, March 11, 2011

Dress up!

This has been a lot of fun - began modeling the clothes for the female figure, Anna. She'll have a couple different outfits. I also have to do a gigantic billowy skirt which I presume will be no fun at all for me to model! Spent some additional time experimenting with "sheer" materials (not shown) that I think will turn out pretty cool.
It's funny how long it takes to make the little details, like placing every single diamond and jump ring for her necklace, when it's doubtful that the camera will ever get close enough to see. I'll probably take a bunch of close up glamour shots once the scene is set up to get that extra bit of satisfaction. (Also need to spend more time figuring out how to render diamonds - didn't get the kind of sparkle that I want!)

Thursday, February 3, 2011

Polygon & Sub-D Workflows: Part B

Here's my (semi-final) Raptor. The next steps in the project were to build the head which I did by extruding ribbon-shapes that followed curves down a set path and then connected those points. I went even farther than the images posted with some sub-d modeling to add ridges to the head and knuckles, but it was taking too long to get renders.

Instead I added shaders and lights to the lower res poly model--something that wasn't covered in this tutorial at all. I got an opportunity to play with sub-surface scattering (although I don't really know what I'm doing!) and creating semi-realistic shiny scales from processed textures. I plan to take one step back and follow the next tutorial series which goes through making a UV and painted textures for this beast.

Sunday, January 30, 2011

Introduction to Modeling: Part B

This project started out really badly (Part A), where I built the little cap that is reused in each layer of the Swiss Army Knife. I had to switch between Sub-D & Polygons, which caused me a lot of problems. I think I have a better handle on how to work between the two methods now, because the rest of the knife came together pretty smoothly. Used a lot of different techniques with Polygons, Sub-D, and Nurbs. Plus learned how to do some simple clean-up to get 4-sided polys.

I was disappointed that the texturing aspect of this lesson didn't teach how to create the same photo-realistic look from the demo pictures. It just used some basic blinns for everything, so I played around with adding my own materials, lighting, and a basic backdrop. The one thing I wasn't able to do was get a Swiss Army logo to project onto the enameled surface. Will probably learn more about this in texturing lessons.

Saturday, January 22, 2011

Introduction to Maya 2011: Part C

The last part of the tutorial taught me how to light a scene with directional lights, create an image plane to hold a matte background, create a dome to bounce reflections, and batch render.

The images below show before and after in my lighting process. The last image with the desert background is from Digital Tutor's tutorial as a comparison.

I'm pretty satisfied with the lighting results that I got. I definitely chose a harder background to work with than the tutorial came with. My background has harder directional shadows plus some beautiful blue shadows and pink highlights and it was important for me to learn how to simulate this.

You can view my final render here. Almost thrilled with the results but a couple things that bug me are outside of my knowledge base: the cast shadows on the ground are the wrong color and the smoke doesn't cast a shadow.